
Canadian · Dessert
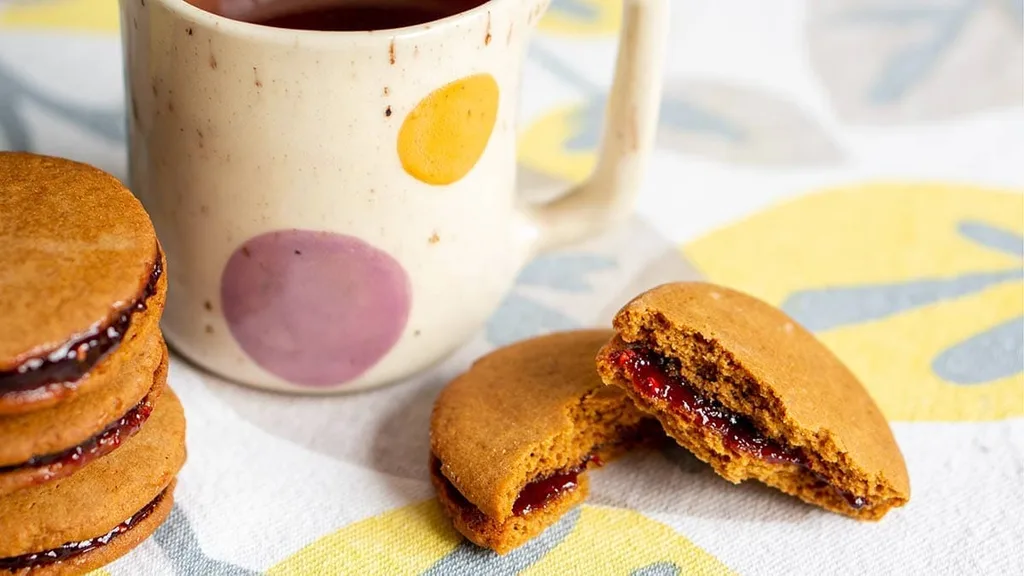
Jam jam cookies
From the zcook collection
Canadian molasses-spiced cookie sandwiches with a soft, slightly chewy texture, filled with your favourite jam — a nostalgic Maritime treat often enjoyed with tea.
- Vegetarian
- Canadian
- Dessert
- Prep
- 15 min
- Serves
- About 36 jam sandwich cookies, depending on size
- Level
- Easy
Method7 steps
Step 1: Heat the oven to 180°C / 350°F and line baking sheets with parchment. Dissolve the two teaspoons of baking soda in the three tablespoons of hot water, then set this solution aside while mixing the butter and sugar.
Step 2: With the paddle attachment of a stand mixer, cream all the room-temperature butter (1 cup), white sugar (1 cup) and egg (1) until combined. Add the molasses (½ cup) and vanilla extract (1 tsp) and mix until smooth.
Step 3: Add the actual baking-soda water solution to the creamed wet mixture and mix for one minute to combine.
Step 4: In a separate bowl, combine the two teaspoons of baking powder, ground cinnamon (1 tsp), half teaspoon of salt and all four cups of flour. Add this dry mixture to the wet mixture a little at a time, mixing on low and scraping the bowl until fully combined into dough that can be shaped.
Step 5: Portion the dough with a small spoon, roll into small balls and place them on the lined baking sheets with room between them. Dust the base of a glass with a little extra flour and use it to press the balls into flat discs. Make an even number of discs so they can be paired after baking.
Step 6: Bake each tray at 180°C / 350°F for ten to twelve minutes, until the cookies are set and cooked through. Remove them from the oven and transfer carefully to a cooling rack. Repeat for the remaining trays; the timer is for one tray’s bake.
Step 7: Let the baked cookies cool for at least ten minutes before filling. Pair the cool cookies and spread at least two teaspoons of jam between the two cookies in each pair. Continue until all the cookies are sandwiched, using more jam only if needed, then serve. The timer is for cooling before filling.
Photos (1)
Comments
0 threadsSign in to join the discussion.

No comments yet. Start the discussion.