


Cantonese · Dinner
Char Siu Bao (BBQ Pork Buns, 叉烧包)
From the zcook collection
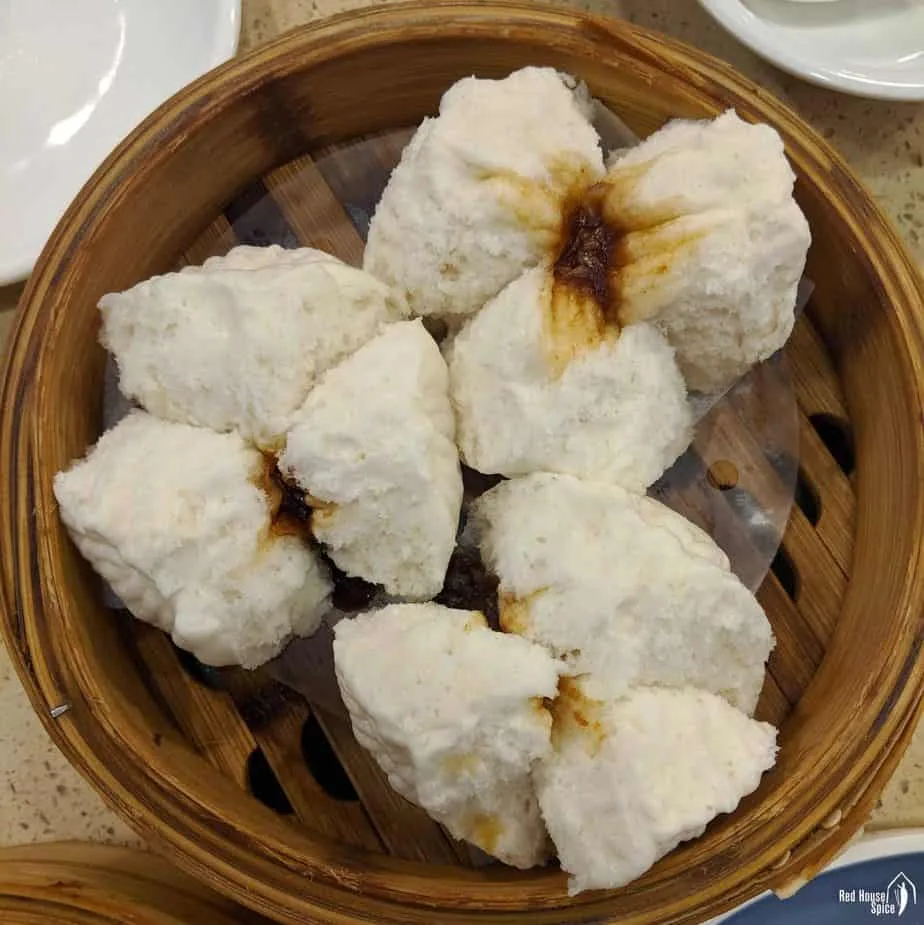
Fluffy Cantonese steamed buns filled with ready cooked Char Siu pork and a glossy sauce. The selected dough uses low-gluten cake flour and instant dry yeast; make one batch by hand or mixer, then shape fourteen bao.
- Dairy-free
- Chinese
- Main
- Main Course
- Bao & Bread
- Cantonese
- Dim Sum
- Total
- 1 hr 25 min
- Prep
- 40 min
- Cook
- 15 min
- Serves
- 14 bao
- Level
- Medium
- Energy
- 169 kcal
Method16 steps · about 1 hr 25 min
Step 1: Prepare the filling first so it can cool while you make the dough. Heat the filling’s ½ tbsp neutral oil in a pan and fry the sliced half onion until slightly golden and fragrant.
Step 2: Pour in the filling’s 120 g water, then add 2 tbsp oyster sauce, 1 tbsp Char Siu sauce and 1 tsp dark soy sauce. Bring to a boil and boil for 30 seconds. Lift out the onion with a slotted spoon and set it aside; keep the flavoured liquid in the pan.
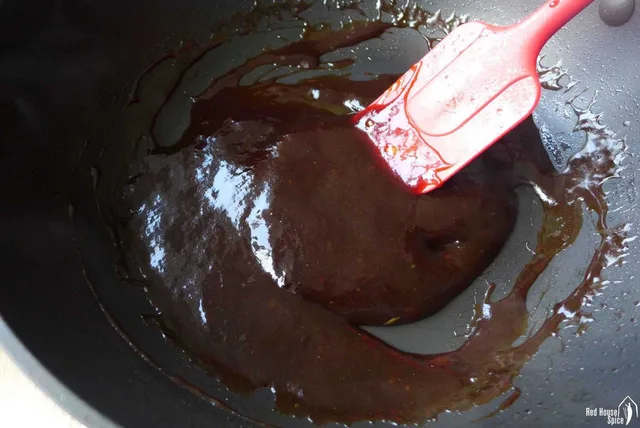
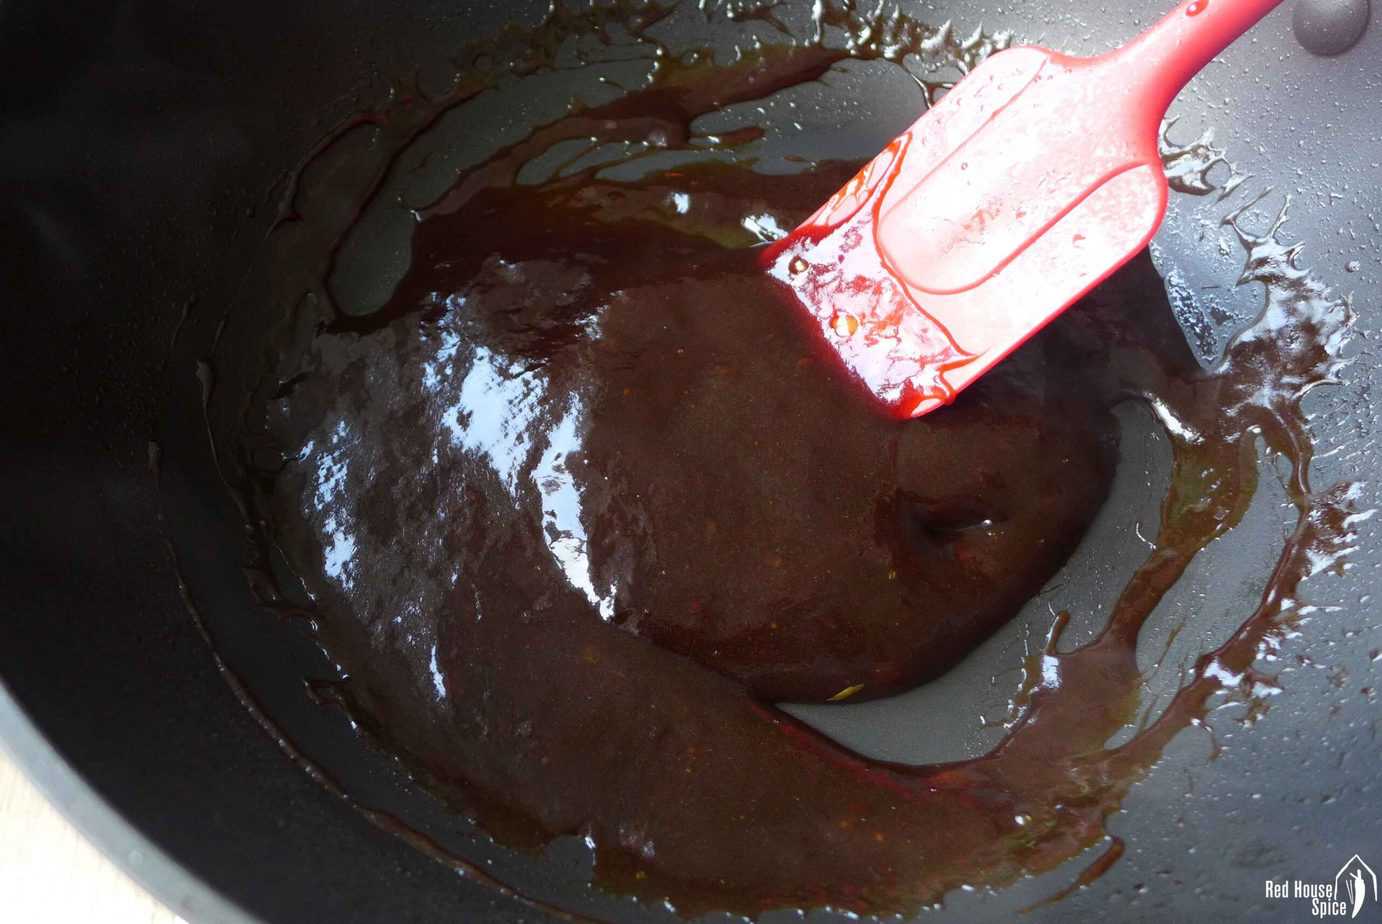
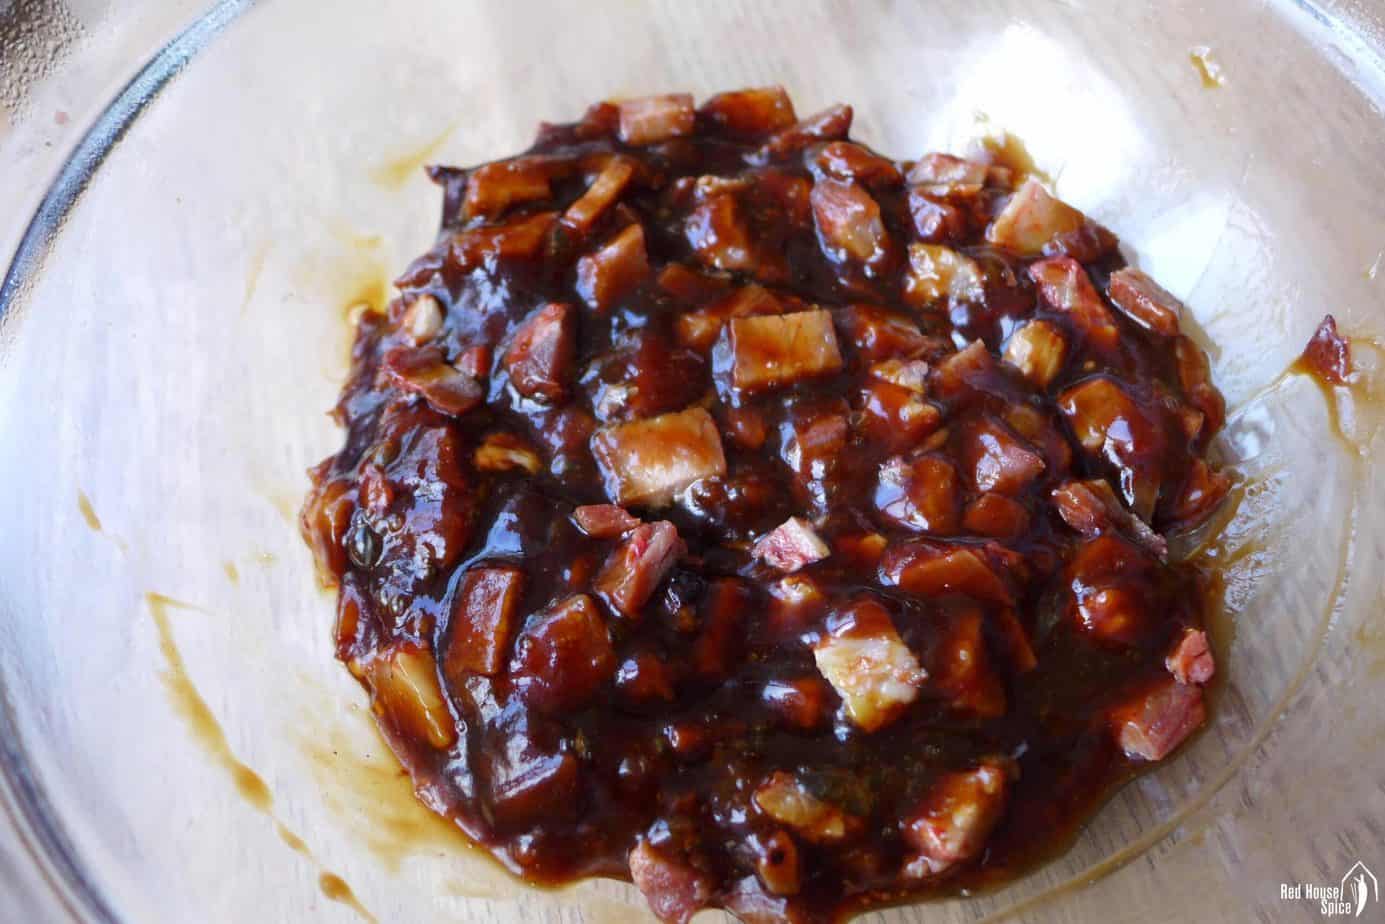
Step 3: Turn the heat to its lowest setting. Mix the 2 tbsp tapioca starch with its separate 3 tbsp slurry water until smooth, stir again, then pour into the flavoured liquid. Stir constantly until it forms a glossy jelly. Transfer the jelly to a bowl and let it cool.
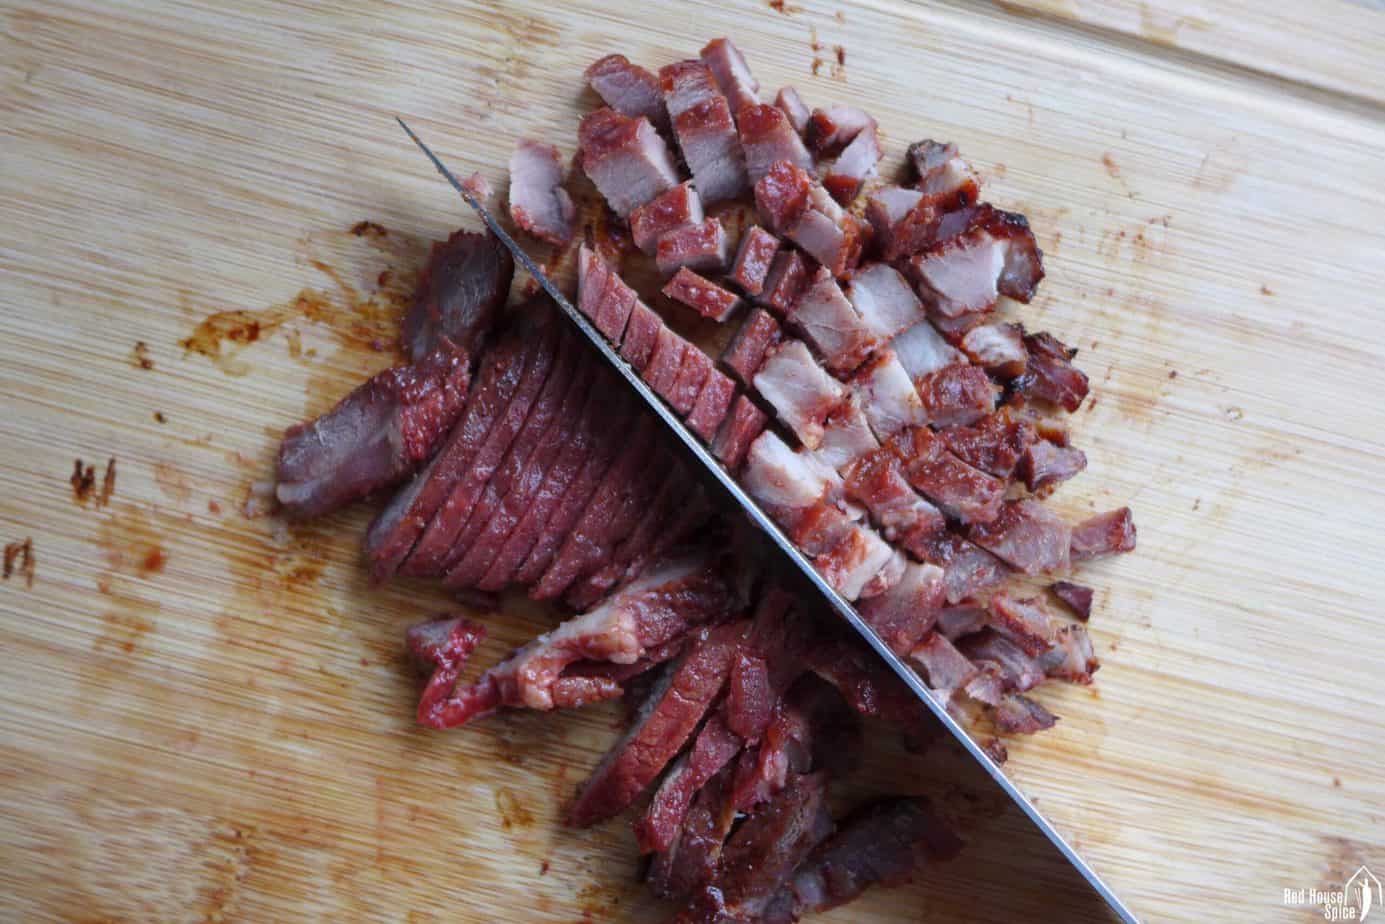
Step 4: Coarsely chop the 130 g ready cooked Char Siu pork into small pieces. Mix all of it into the cooled jelly. Keep the filling refrigerated while making the dough.


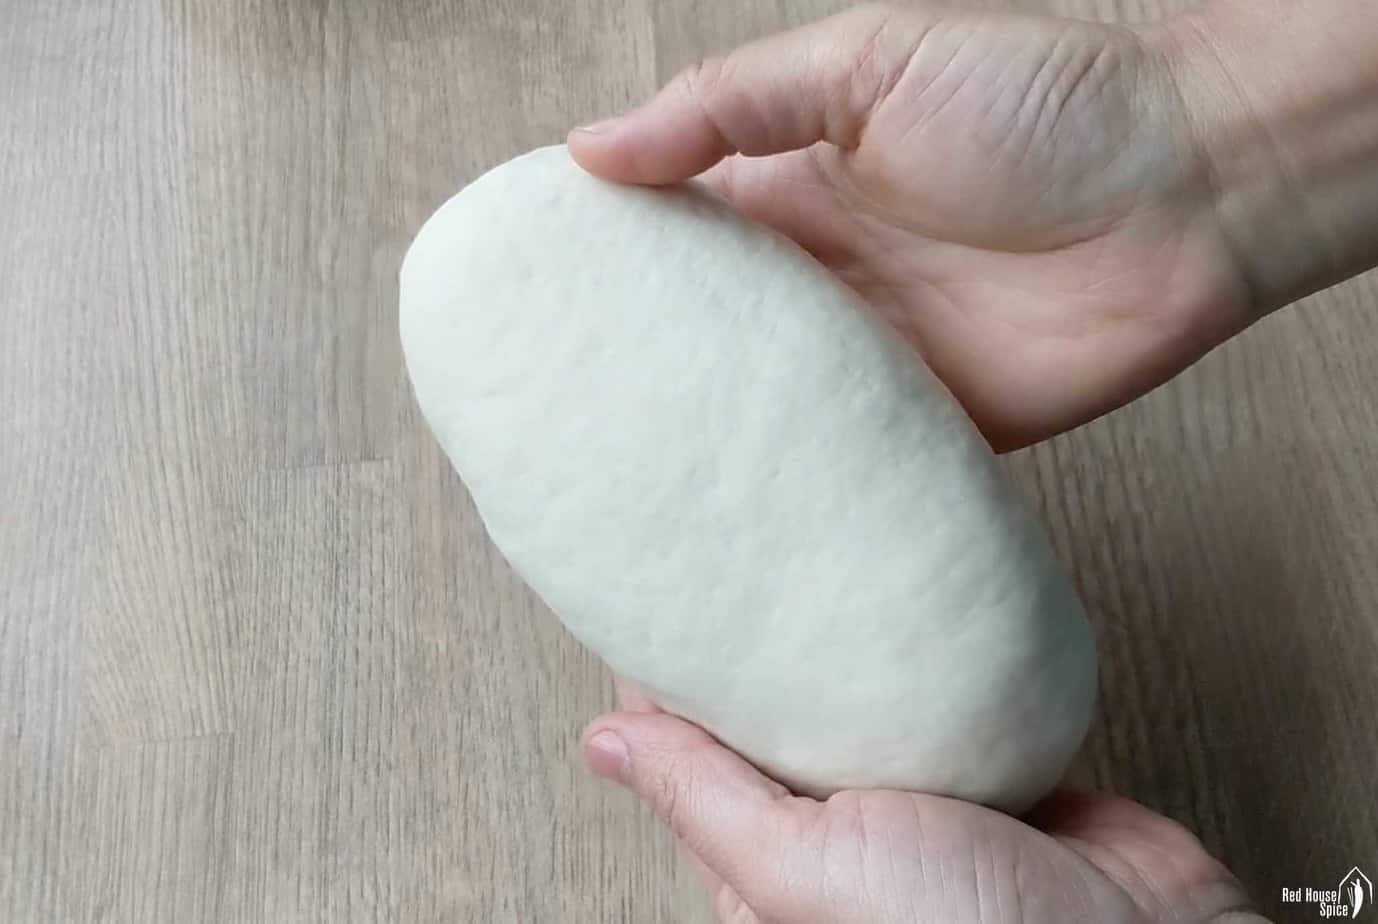
Step 5: Choose either this hand route or the mixer route in the next step to make one dough batch. For the hand route, mix the 350 g cake flour, 2 tbsp sugar, 2 tsp baking powder, 2 tsp instant dry yeast and the dough’s 1½ tbsp oil. Gradually mix in the dough’s weighed 180 g lukewarm water with chopsticks or a spatula, then bring it together by hand. Use extra lukewarm water only if needed for a soft, non-sticky dough. Cover and rest for 10 minutes, then knead for about 2 minutes until very smooth. Skip the mixer route.

Step 6: Use this step only if you chose the mixer route instead of the hand route. Put the same one-batch dough ingredients into the mixer bowl: 350 g cake flour, 2 tbsp sugar, 2 tsp baking powder, 2 tsp instant dry yeast, the dough’s 1½ tbsp oil and its weighed 180 g lukewarm water. Knead with the dough hook on low speed for about 8 minutes, until smooth. Adjust with extra lukewarm water only if needed for a soft, non-sticky dough. Skip the hand route.
Step 7: Take the smooth dough from whichever single kneading route you chose and divide it into 14 equal portions. Work with one portion at a time and keep the rest covered so they do not dry out.
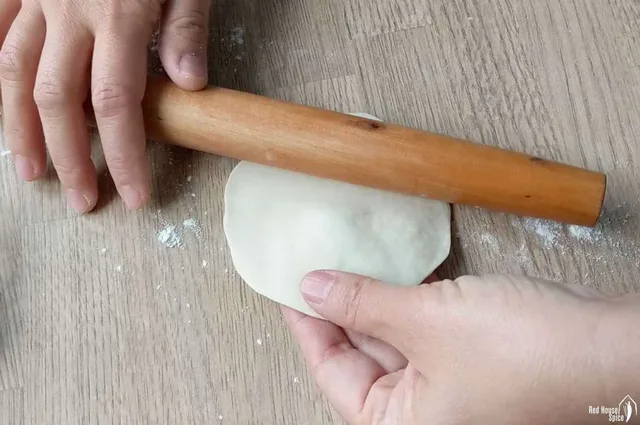
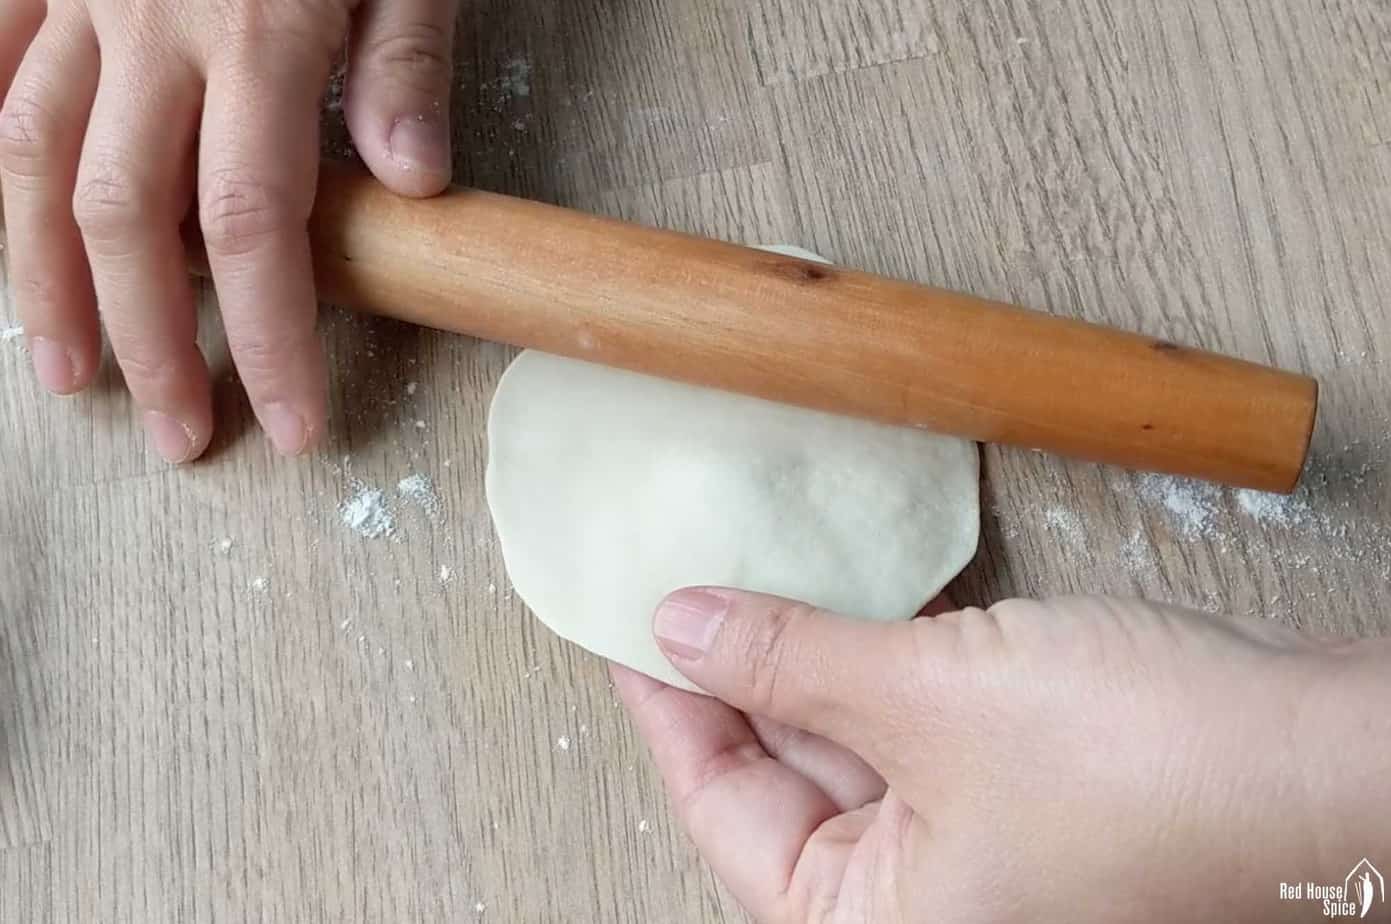
Step 8: Roll one dough portion into a round wrapper 9–10 cm in diameter, thinner at the edge and thicker in the middle. Use a little additional cake flour on the work surface only if needed to prevent sticking.
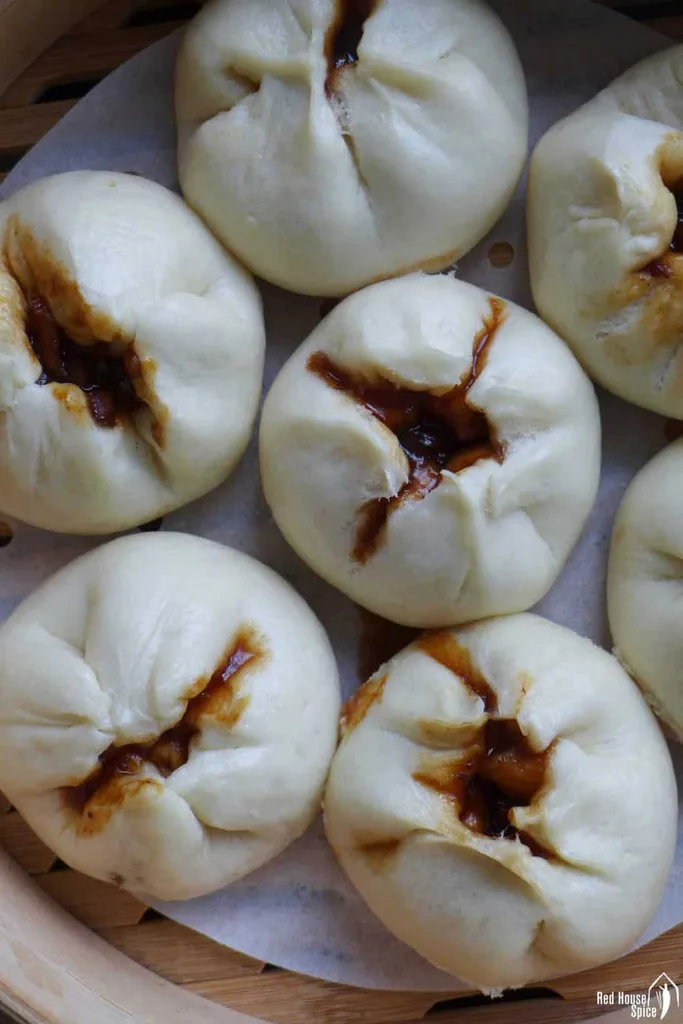
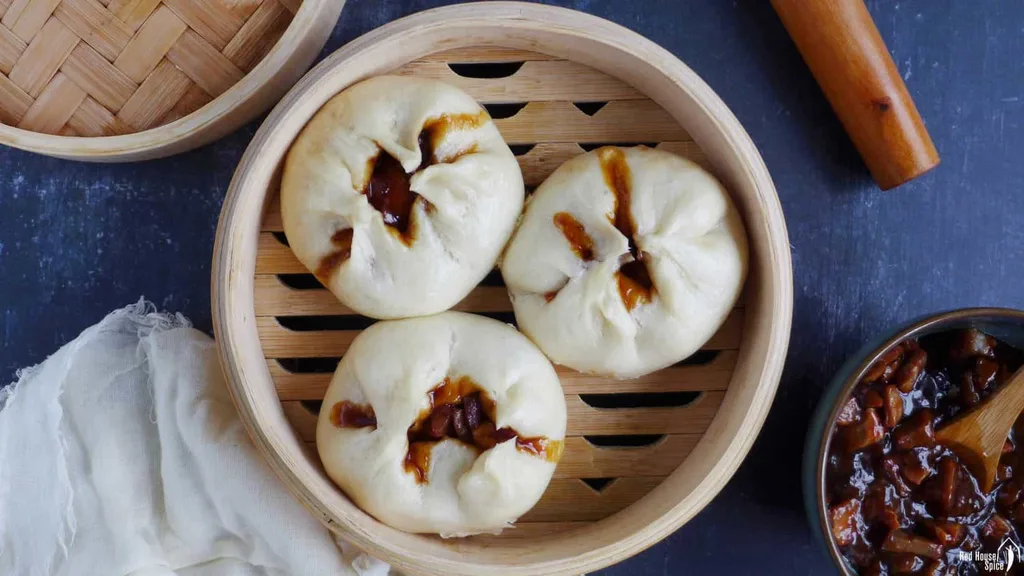
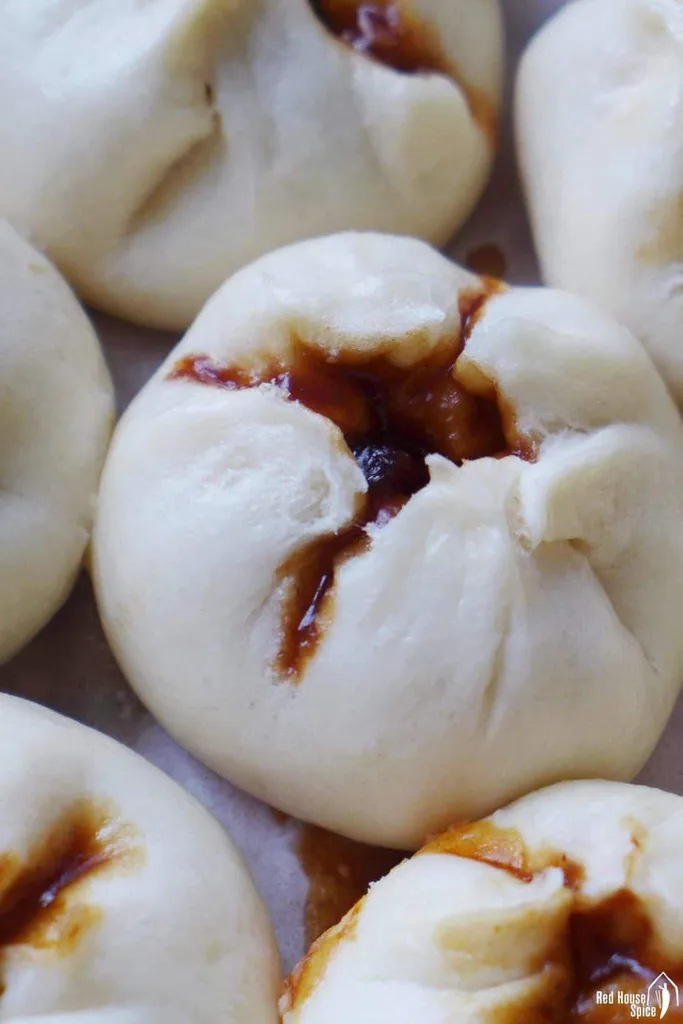
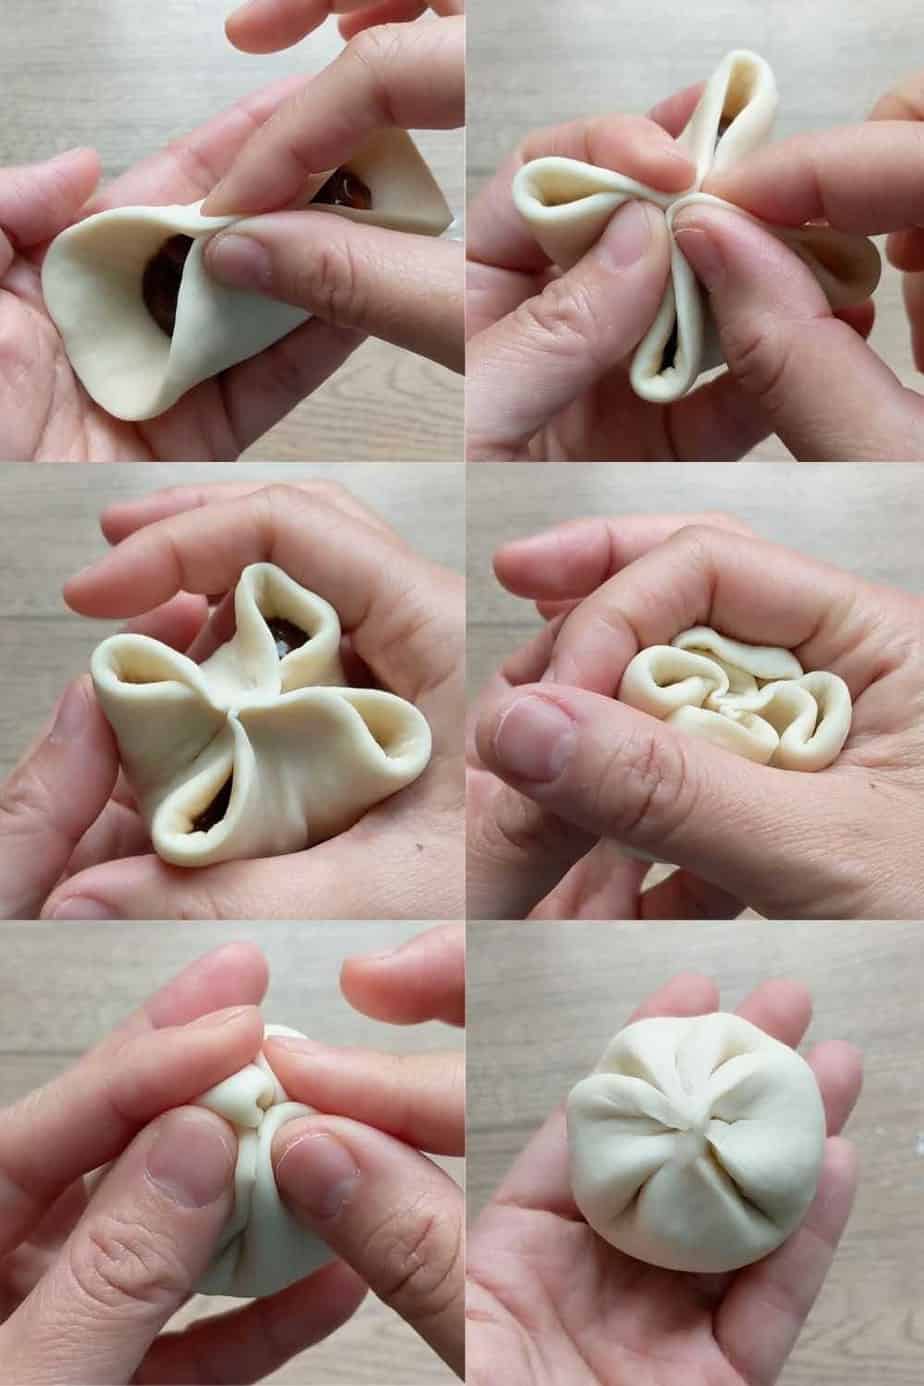
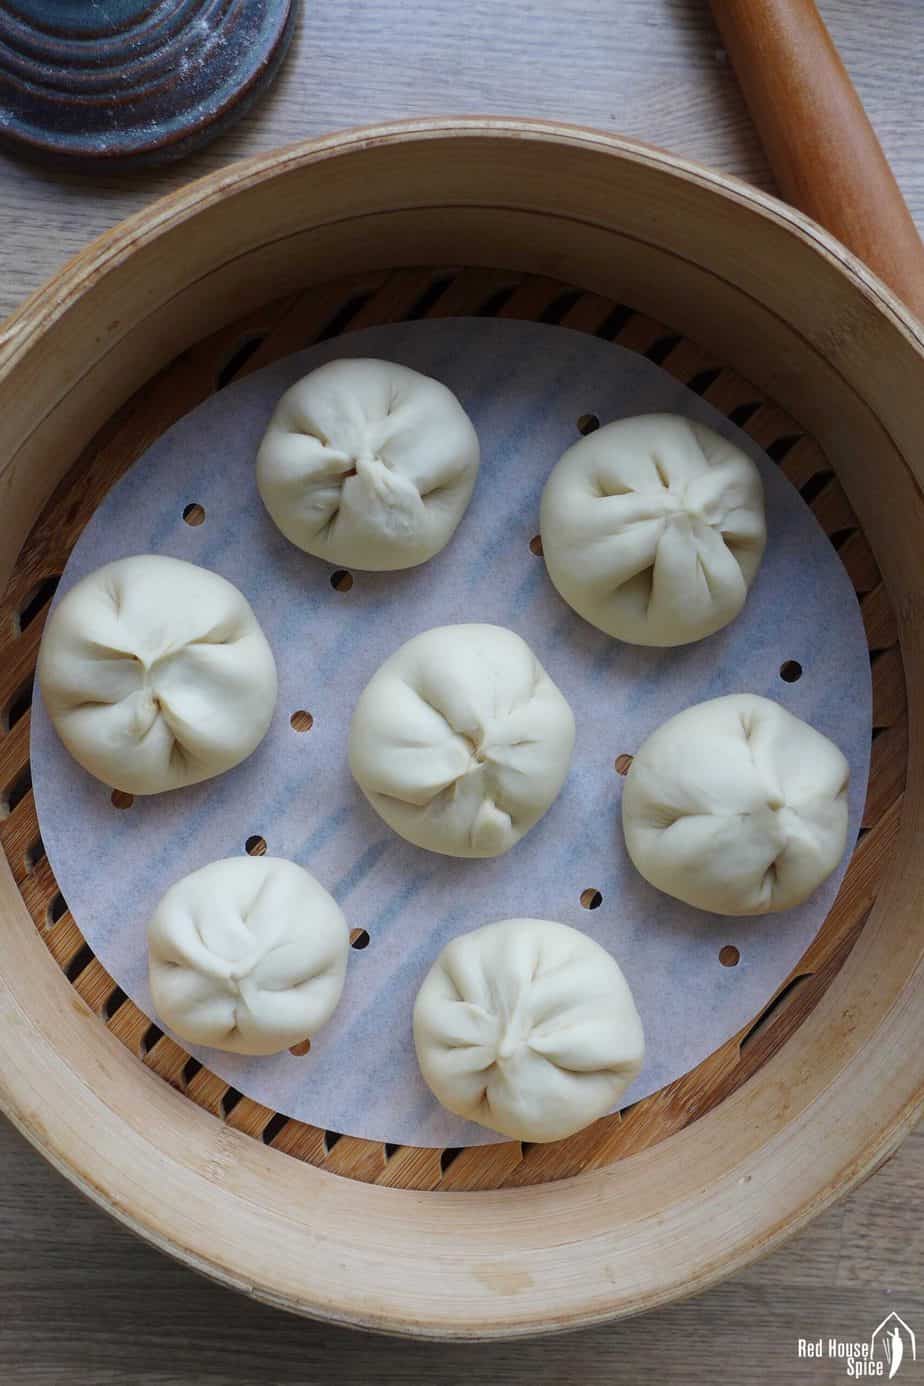
Step 9: Place a spoonful of the chilled prepared filling, about 20 g, in the middle of the wrapper. For the photographed open-top shape, bring three evenly spaced points of the edge together over the filling and pinch them at the centre, leaving three loops. Fold the outer edge of each loop into the centre and pinch to secure. Alternatively, gather small pleats around the filling and pinch the top closed.

Step 10: Roll and fill the remaining thirteen dough portions the same way, using about 20 g prepared filling per wrapper to make fourteen bao in total. Set any excess filling aside in the refrigerator. Place the bao in parchment-lined steamer baskets with space between them; two 26 cm baskets can hold seven each.

Step 11: Leave the fourteen shaped bao in their lined baskets to proof for about 30 minutes, adjusting for room temperature. They should become light and plump, though not doubled in size; there is no need to cover the baskets during this proof.
Step 12: Bring the separate steamer water to a full boil in a wok or pot. Set the proofed bao baskets above the water, cover with the lid and steam over medium-high heat for 10 minutes without opening the lid. The wrappers should be fluffy and cooked through and the pork filling thoroughly hot, reaching 74°C (165°F). Continue steaming if necessary, then serve immediately.
Step 13: Optional storage for any excess cooked-pork filling: keep it cold in a covered container. If freezing it for later use, pack it airtight and freeze for up to three months. Thaw it in the refrigerator before using.
Step 14: For any cooked bao left after serving, cool and refrigerate promptly in an airtight container at 4°C (40°F) or below, within two hours of cooking, or within one hour in heat above 32°C (90°F). Use refrigerated bao within three days. Alternatively, freeze the cooked bao airtight and use within three months. Freeze them after cooking to preserve their fluffy texture.
Step 15: Refrigerated or thawed-bao route: thaw any frozen cooked bao in the refrigerator first. Place the refrigerated or thawed bao above fully boiling steamer water, cover and steam for about 3 minutes. Check that the filling reaches 74°C (165°F) and continue steaming if needed. Use this route instead of the direct-from-frozen route.
Step 16: Direct-from-frozen route: use this instead of the thawed route. Place the frozen cooked bao above fully boiling steamer water, cover and steam for about 6 minutes. Check that the filling reaches 74°C (165°F) and continue steaming if needed, then serve hot.
Photos (6)
Comments
0 threadsSign in to join the discussion.



No comments yet. Start the discussion.